How to use CarrierInvoice
Everything you need to know about using CarrierInvoice — from creating your first template to generating professional invoices at scale.
Getting Started
Welcome to CarrierInvoice. This guide walks you through every step of turning your freight documents into professional invoices.
Create your account
Head to the registration page and sign up with your email and a password. You'll receive a confirmation email — click the link to activate your account and unlock your 10 free scans. That's enough to try the full workflow end-to-end before choosing a plan. No credit card required.
It only takes about 4 minutes from registration to your first invoice — watch the full flow end-to-end below.
Creating a Template
A template is the layout of your finished invoice — it decides where your carrier info, the broker's details, pickup and delivery stops, and the rate will appear on the page. You build it once, then reuse it for every invoice after that.
Set up your invoice layout
You have two ways to start. Upload your existing company invoice as a PDF — it becomes the background of your template, and you mark fields on top of it. Or start from one of our pre-built templates and customize from there. CarrierInvoice supports the most common page sizes, including Letter and A4.
Layout tip: For invoices with multiple pickup or delivery stops, place the date and address fields side by side (e.g., date on the left, address on the right). Vertical spacing between stops is added automatically, and if a rate confirmation has more stops than you planned for, CarrierInvoice keeps adding them down the page using the same spacing — you don't have to pick a fixed number of stops up front.
Place fields on the canvas
The canvas editor is where you tell CarrierInvoice where each piece of data should appear on the finished invoice. There are around 15 fields to place in total, and most people finish in about five minutes. The Template Fields sidebar on the left takes you through them one by one — a progress bar shows how many are left and which one is up next. For the active field, drag it onto the canvas where that value should appear, then fill in the font size and width boxes (both in points) — width is what decides when a long value wraps to the next line, so give addresses and company names more room than short values like dates or rates. Click Confirm to save that field and move to the next one, or Skip any field you don't use on your invoices.
Each field you place is a placeholder — when you later upload a rate confirmation, the AI reads it and fills in the real value. Smart guides and grid snap help you line things up as you drag. Don't worry about getting every placement exactly right — if something looks slightly off on a real invoice later, you can nudge it just for that one invoice without changing your template (see Creating an Invoice).
What the AI fills in for you
When you upload a rate confirmation, the AI reads it and automatically fills in these fields on your template:
- Invoice Number — your invoice identifier
- Date — invoice date
- Company Name — the broker's company name
- Company Address, City, Zip, Phone — broker contact details
- Load Number — the broker's load or reference number
- Pickup Date & Address — origin details per stop
- Delivery Date & Address — destination details per stop
- Total Price — the invoice total
The billing email is pulled out too, but it doesn't get printed on the invoice — it shows up as a column on your invoices list so you can email the broker in one click (see Creating an Invoice).
Tools you'll see in the editor
The top toolbar has a few extras that can make your template look more polished. You don't have to use any of them to get a working invoice — they're there when you want more control over the design.
-
Add Text — place a fixed label like your company name, a heading, or a footer line. It shows up the same way on every invoice.
-
Add Image — upload your logo or another graphic. It also stays the same on every invoice.
-
Line — draw a horizontal or vertical line to separate sections on the page.
-
Rectangle — draw a box, for example around your address block or totals.
-
Show field overlays — hide or show the dashed boxes that mark your dynamic fields, so you can preview how the template looks without them.
-
Grid & snap — turn on a background grid that magnetically lines items up as you drag them.
-
Smart guides — shows small alignment lines as you drag, so you can tell when a field lines up with another one.
Keyboard shortcuts: Ctrl+Z undo, Ctrl+Y redo, Delete to remove the selected item. Press V, L, R, or T to switch between Select, Line, Rectangle, and Add Text.
Save your template
Give your template a name and hit save. That's it — it's ready to use for every new document you upload. Most people create one template and stick with it, but you can save as many as you want — for example, a separate template per broker, or different layouts for different customers. To rename a template, move a field, or rework the layout later, open the Templates page from the top menu.
Creating an Invoice
Upload a rate confirmation from your broker — one at a time, or up to 10 at once (see Batch Processing). Multi-page PDFs are fine. Click Scan and the AI reads the document and fills in the fields you placed on your template. You then review the values, attach a BOL, tweak the layout if you want, and finalize — everything merges into one PDF: your carrier invoice, the rate confirmation, and the BOL.
Review and attach BOL
When the scan finishes, an Invoice Details drawer opens on the right with every extracted value. Click any field to correct it. Use the + and trash icons to add or remove pickups and deliveries.
Drop your BOL PDF into Add Bill Of Lading — it'll be appended to the final invoice automatically. Hit Apply when the data looks right.
Manual field capture
Most rate cons extract cleanly, but occasionally one has a stamped reference, a handwritten note, or a blurry section the AI misses. Click the Select button at the bottom, pick the field you want to fill, then draw a box around the text on the rate con. CarrierInvoice reads just that region and drops the result into the field — no retyping.
Preview and adjust layout
Click Preview to open your template filled with this invoice's data. Drag any field to nudge it into place — handy when a broker's address runs long and pushes into another field. Reset to Default puts everything back if you overshoot.
These tweaks only affect this invoice. Your saved template is not touched.
Save and merge
Click Add Invoice and CarrierInvoice stitches everything into a single PDF — your carrier invoice first, the rate confirmation next, and the BOL last if you attached one. The finished invoice lands in your Invoices table, and the broker's billing email (one of the values pulled during extraction) shows up there as a column so you can send it off in one click.
Batch Processing
Drop in up to 10 rate confirmations at once (25 MB per file), pick the template you want to use for the batch, and hit Start Scan. Files move through the queue one at a time — but you don't have to sit and watch. As soon as a rate con flips from Analyzing to Ready, you can open it, attach its BOL, fix anything the AI got wrong, and queue up the next one — all while the rest of the stack is still being scanned. When the queue is empty and every invoice looks right, click Save All and CarrierInvoice stitches each one (carrier invoice + rate con + BOL) and drops them into your invoices list in one go.
If a scan fails
Occasionally a file fails — a corrupt PDF, a connection blip, an AI provider hiccup. The failed file gets a red badge with the reason; everything else in the batch keeps going. Click Retry Failed to rescan just the broken ones without touching the files that already succeeded.
Tip: Batch processing uses one scan per document. A batch of 10 rate confirmations is 10 scans from your plan's allowance.
Managing Invoices
Every invoice you save lands in the Invoices table — one row per load, with the date, broker, load number, rate, payment terms, and status at a glance. Sort any column ascending or descending, search by company, load, or invoice number, and page through the list at your own pace. Each row has a small cluster of action icons on the right for the things you'll do most often.

Row actions
-
Email — the broker's billing email was pulled from the rate con during extraction. Click to copy it and send the finished invoice, and CarrierInvoice flags the row as sent so you can tell at a glance which invoices are still waiting to go out.
-
Download — grabs the merged PDF (carrier invoice + rate con + BOL). It's regenerated each time you click, so any edits you've made since the last download are baked in.
-
Edit — opens the same drawer you used when creating the invoice. Fix a typo, swap out the BOL, correct a pickup address. Data only — the layout of the invoice is the template's job, not this drawer's.
-
Delete — removes the invoice for good.
Status & payment terms
The Status column is how you keep tabs on what's been paid and what's falling behind. Flip the toggle to Paid the moment a broker settles up and the row turns green. For everything still unpaid, CarrierInvoice watches the clock for you:
- Unpaid — default, neutral row.
- Attention — after 20 days unpaid, the row turns amber. A nudge to follow up before it slips further.
- Overdue — after 30 days unpaid, the row turns red. Time to chase.
Automatic: Attention and Overdue flip on their own as days roll by — you don't have to touch anything. Toggling Paid is the one manual step.
The Payment Terms column (Net30 or Quick) is purely for your own bookkeeping and for the dashboard's charts — it doesn't change the invoice PDF or the status timers.
Display options
The gear icon in the top right opens a small panel for tuning the view to how you work:
- Hide paid invoices — collapses everything that's already settled so only open loads remain. Handy on Fridays when you just want to see who still owes.
- Show overdue first — pins red rows to the top regardless of the current sort, so the loads that need chasing are always the first thing you see.
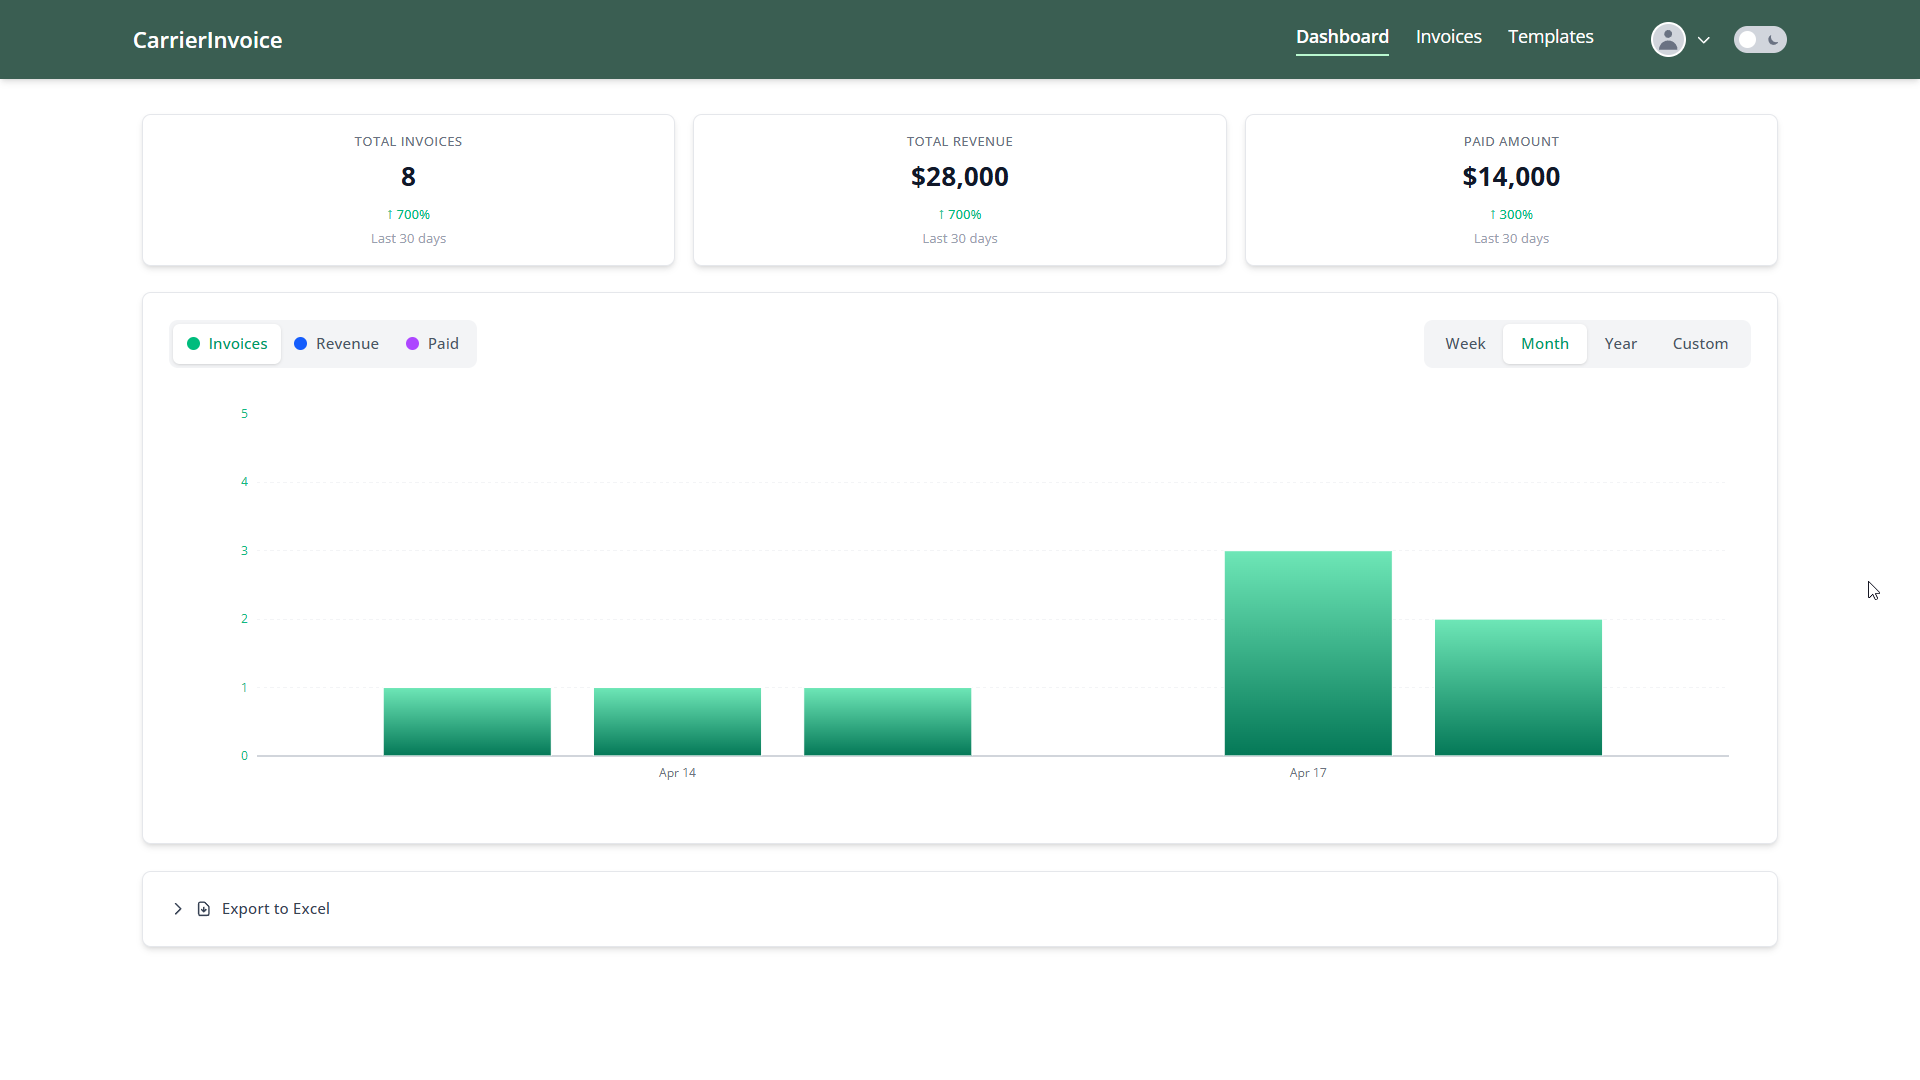
Dashboard
The Dashboard page (top menu) is where you step back and look at the business. Three cards at the top — Total Invoices, Total Revenue, Paid Amount — each with a 30-day change indicator. Below that, an activity chart toggles between Invoices, Revenue, and Paid, with Week / Month / Year / Custom ranges.
At the bottom, Export to Excel pulls the filtered data into a spreadsheet — useful when your accountant wants raw numbers or you're reconciling a quarter.
Settings & Billing
Open Settings from the user menu in the top right. The page is split into four tabs: Account, Security, Billing, and Notifications.
Account
Edit your first name and last name. Your email is shown but can't be changed here — it's your login identity. If you need to move the account to a different email, contact support.
The same form also changes your password. Leave the password fields blank if you're only updating your name; otherwise fill in current password, new password, and confirm. New passwords need at least 6 characters with an uppercase letter, a lowercase letter, and a number.
Security — Two-factor authentication
Your account holds broker contact data, saved templates, and a payment method, so 2FA is worth turning on. The Security tab walks you through it in two steps: scan the QR code with Google Authenticator, Authy, or Microsoft Authenticator (or paste the manual key if your app needs it), then enter the 6-digit code to verify and enable.
Save your recovery codes. Right after enabling 2FA you'll see a grid of one-time codes — copy them somewhere safe. If you lose your phone and don't have these codes, the account is locked and support has to step in.
Once 2FA is on, the Security tab shows how many recovery codes you have left, a Regenerate Recovery Codes button (invalidates the old set), and a Disable 2FA button. Both actions ask for your account password before going through.
Billing
The billing card shows your current plan, the days remaining in the cycle, and a scan-usage progress bar (used / allowance). That's the one thing most people check here — if you're close to your limit, it's visible the moment you land on the page.
Depending on where your account stands, the card looks a little different:
- Active — green card with Upgrade Plan, Payment Method, and Cancel Subscription buttons.
- Cancelled — orange card. You keep access until the period end. Hit Reactivate Subscription any time before then to reverse the cancellation — no re-checkout, no gap.
- Expired — red card with a Renew Subscription button to pick a plan again.
- Payment failed — red card when a renewal charge is declined. The subscription deactivates right away (no grace period), so Update Payment Method or Choose New Plan is how you restore access.
- Free — no subscription. Shows how many of your 10 free scans (granted at email confirmation) are left.
The Payment Method button opens the Stripe billing portal — that's where you update your card, download receipts, or add tax details. Below the card, a Payment History table lists past charges with downloadable invoice PDFs.
Plans
Every plan includes every feature in the app. The only difference is scan volume:
- Regular — $25/month, 75 scans
- Professional — $45/month, 200 scans
- Enterprise — $99/month, 500 scans
Annual billing saves 15% across all three. Full breakdown on the pricing page.
Upgrading & downgrading
Switch plans any time from the billing card. Upgrades take effect immediately and you get the new scan allowance right away. Downgrades apply at the end of the current billing cycle so you don't lose scans you've already paid for.
Cancellation
Cancel whenever you want — no phone calls, no retention screens. Your access and remaining scans continue until the end of the period you've already paid for, then the account becomes inactive. Change your mind before then? Hit Reactivate Subscription on the billing card and nothing changes at all.
Notifications
Four toggles on the Notifications tab control which emails you get from us. Flip any toggle and it saves automatically — no save button.
- Ticket notifications — replies on your support tickets and status changes.
- Subscription reminders — renewal reminders, expiration notices, and payment receipts. Worth leaving on: it's how you hear about a failed charge before it deactivates the account.
- Maintenance & updates — scheduled downtime and new-feature announcements.
- News & marketing — occasional product news and promos.
Ready to get started?
Create your free account and start turning freight documents into professional invoices.
Get Started Free10 free scans - no credit card required
Questions about using CarrierInvoice
Template setup, extraction accuracy, batch processing, and more.